

![The 14 best storage units in toronto [2022]](https://i0.wp.com/torontoblogs.ca/wp-content/uploads/2022/04/surface-image-cart-with-cardboard-boxes-empty-hall-self-storage-facility-copy-space.jpg) torontoblogs.ca
torontoblogs.ca Opening: Building Your Own Storage Shed
Tired of clutter overflowing in your Warwick, Queensland home? A DIY storage shed can be the perfect solution! This guide will walk you through the process of building a sturdy and functional shed, providing much-needed storage space and increasing your property value.
Tired of clutter overflowing in your Warwick, Queensland home? A DIY storage shed can be the perfect solution! This guide will walk you through the process of building a sturdy and functional shed, providing much-needed storage space and increasing your property value.
Step 1: Planning and Design
Before you even think about picking up a hammer, meticulous planning is crucial. Consider these aspects:Purpose: What will you primarily store in the shed? Garden tools, equipment, or seasonal items? This dictates the size and layout. Size: Measure the available space in your yard. Remember to factor in setbacks and council regulations in Warwick, Qld. Aim for a size that accommodates your storage needs without overwhelming the space. Design: Decide on the style of your shed. A simple gable roof is easiest for beginners. Sketch out your design, including dimensions for the walls, roof, and door. Online shed plans are also readily available. Permits: Contact the Warwick Regional Council to determine if a building permit is required for your shed size and location. Don't skip this step! Materials: Create a detailed list of all the materials you'll need, including lumber, roofing materials, siding, fasteners, and concrete (if building a slab foundation).
Before you even think about picking up a hammer, meticulous planning is crucial. Consider these aspects:
Step 2: Foundation Preparation
A solid foundation is essential for a long-lasting shed. Choose from these options:Concrete Slab: The most durable option. Requires pouring a concrete slab, ensuring it's level and square. This requires more time and effort. Gravel Base: A simpler option involving a compacted gravel base topped with concrete pavers or treated lumber skids. Wooden Skids: Pressure-treated lumber skids placed directly on the ground. The simplest but least durable option. For a concrete slab, prepare the site by removing topsoil and creating a level area. Build a form using lumber and pour the concrete. Let it cure completely before proceeding. For a gravel base, dig out the area, fill with gravel, compact it thoroughly, and then lay your pavers or skids.
A solid foundation is essential for a long-lasting shed. Choose from these options:
Step 3: Framing the Walls
Now it's time to build the wall frames.Cut the Lumber: Cut all the lumber for the wall frames according to your plan. Use pressure-treated lumber for the bottom plate. Assemble the Frames: Lay out the lumber for each wall frame and nail or screw them together. Ensure the frames are square. Install Studs: Place studs every 16 or 24 inches on center. Add additional studs around door and window openings. Raise the Walls: With the help of a friend, raise the wall frames one at a time and secure them to the foundation using appropriate fasteners. Brace the Walls: Use temporary braces to hold the walls plumb until the roof is installed.
Now it's time to build the wall frames.
Step 4: Installing the Roof
The roof protects your shed from the elements.Build Rafters or Trusses: Choose between building rafters or using pre-fabricated roof trusses. Trusses are easier for beginners. Install Rafters/Trusses: Attach the rafters or trusses to the top plates of the walls, ensuring they are evenly spaced and securely fastened. Sheathe the Roof: Cover the rafters or trusses with plywood or OSB sheathing. Nail or screw the sheathing securely in place. Install Roofing Material: Install your chosen roofing material, such as asphalt shingles, metal roofing, or corrugated iron. Follow the manufacturer's instructions carefully. Overlap each section correctly to prevent leaks.
The roof protects your shed from the elements.
Step 5: Adding Siding and Doors
It's time to enclose your shed and provide access.Install Siding: Choose your siding material (wood, vinyl, metal) and install it according to the manufacturer's instructions. Overlap each section correctly and ensure proper fastening. Frame the Door Opening: If you haven't already, frame the door opening with appropriate lumber. Install the Door: Hang the door using hinges and install a latch or lock. Ensure the door swings freely and closes securely. Add Windows (Optional): If desired, install windows to provide natural light and ventilation.
It's time to enclose your shed and provide access.
Step 6: Finishing Touches
Complete your shed with these finishing touches.Caulk and Seal: Caulk all seams and joints to prevent water infiltration. Paint or Stain: Paint or stain the shed to protect the wood and enhance its appearance. Add Shelving and Storage: Install shelving, hooks, and other storage solutions to organize your belongings. Landscaping: Add landscaping around the shed to blend it into your yard.
Complete your shed with these finishing touches.
Conclusion: Enjoy Your New Storage Space
Congratulations! You've successfully built your own storage shed in Warwick, Qld. With careful planning and hard work, you've created a valuable addition to your property that will provide years of storage space. Remember to maintain your shed regularly to keep it in good condition. Now you can finally get rid of that clutter and enjoy a more organized home!
Congratulations! You've successfully built your own storage shed in Warwick, Qld. With careful planning and hard work, you've created a valuable addition to your property that will provide years of storage space. Remember to maintain your shed regularly to keep it in good condition. Now you can finally get rid of that clutter and enjoy a more organized home!
The 14 Best Storage Units In Toronto [2022]
torontoblogs.ca Ground Level Storage Container Building Units In New York
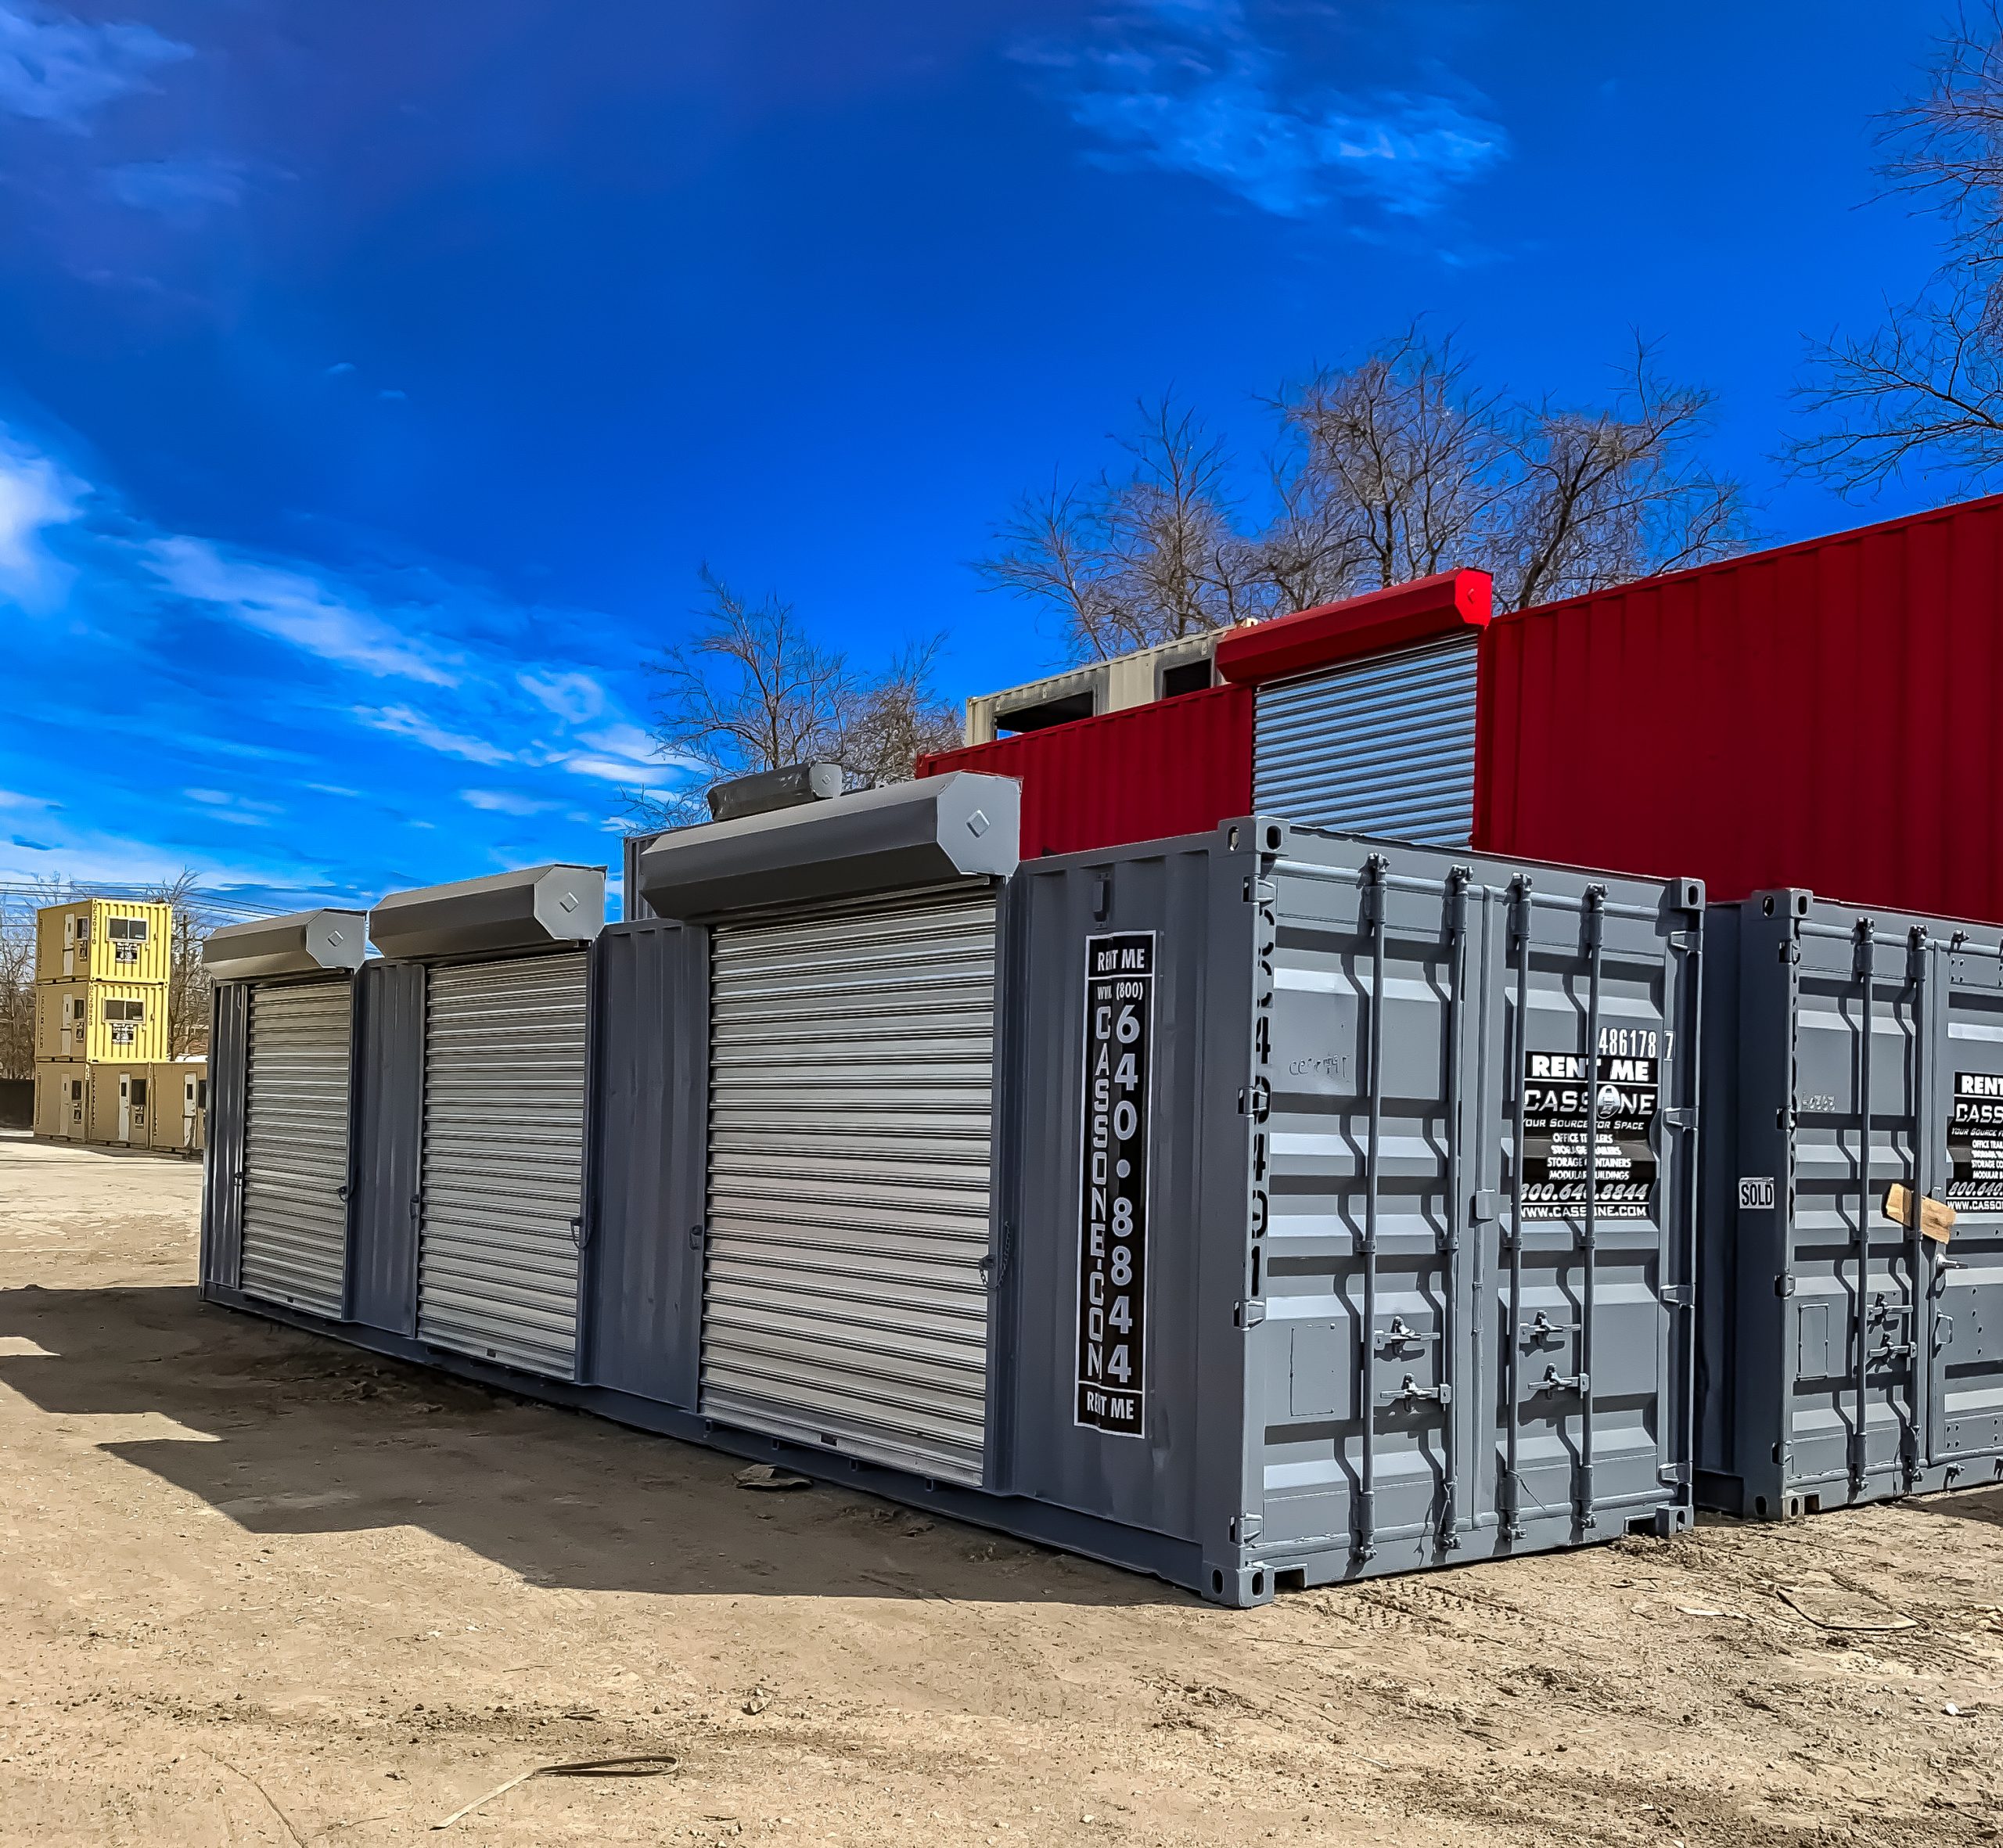 www.cassone.com
 A Comprehensive Guide On Warehouse Storage
 barbaraiweins.com
